

🎛️ Mix Notes #4.1: My Favorite Saturation Plugins (And Why They Work So Well)
From tape glue to diode bite — an in-depth breakdown of the saturation tools I actually use and how they shape warmth, punch, and character in real-world mixes.


🔥 What Saturation Really Does (and Why It’s Not Just Distortion)
Saturation adds harmonic content that gives sounds perceived warmth, density, and loudness.
It’s what analog gear naturally does — but digital systems don’t — which is why saturation plugins are essential for giving in-the-box mixes life.
Think of saturation as tone enhancement through controlled imperfection.
Where distortion destroys, saturation enhances — adding harmonics that give depth, cohesion, and character.
Read this first:

It provides important context and useful tips.
🧪 My Go-To Saturation Plugins (and How I Actually Use Them)
Here’s my personal saturation chain — from subtle harmonic glue to full-on analog grit — plus how I dial each one in.
(not in any specific order of importance either)
Standalone MPC/AKai Force
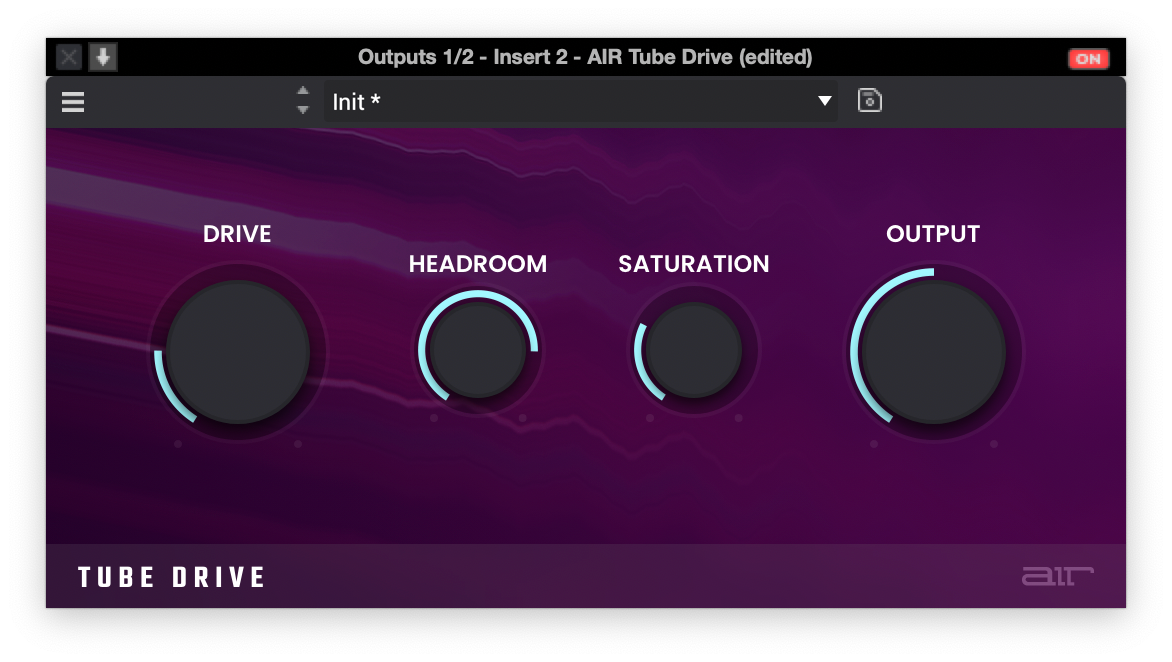
AIR Tube Saturation (MPC)
Your “make this sound less like a laptop” button.
This one is perfect for taking sterile digital sources and giving them some harmonic meat without turning things into fuzz. It adds that soft tube bloom that makes vocals, guitars, pads, and samples feel a bit more expensive and less brittle.
Best use: Subtle tone shaper on individual tracks.
Vocals that feel thin or “demo-ish.”
Guitars, synths or pads that need warmth and glue
Clean samples that need a little “harmonic enhancement”
How to dial it in:
Keep the Drive low and lean into the warmer tone options.
Work in the 15–25% drive range for most sources so it sweetens without announcing itself.
Adjust the headroom to clamp the signal for tube compression
If the top end gets a little spicy, follow it with a gentle EQ cut in the upper highs to keep things smooth.
Soft Clipper & Diode Clipper
Your “don’t blow up the meters, but still hit hard” pair.
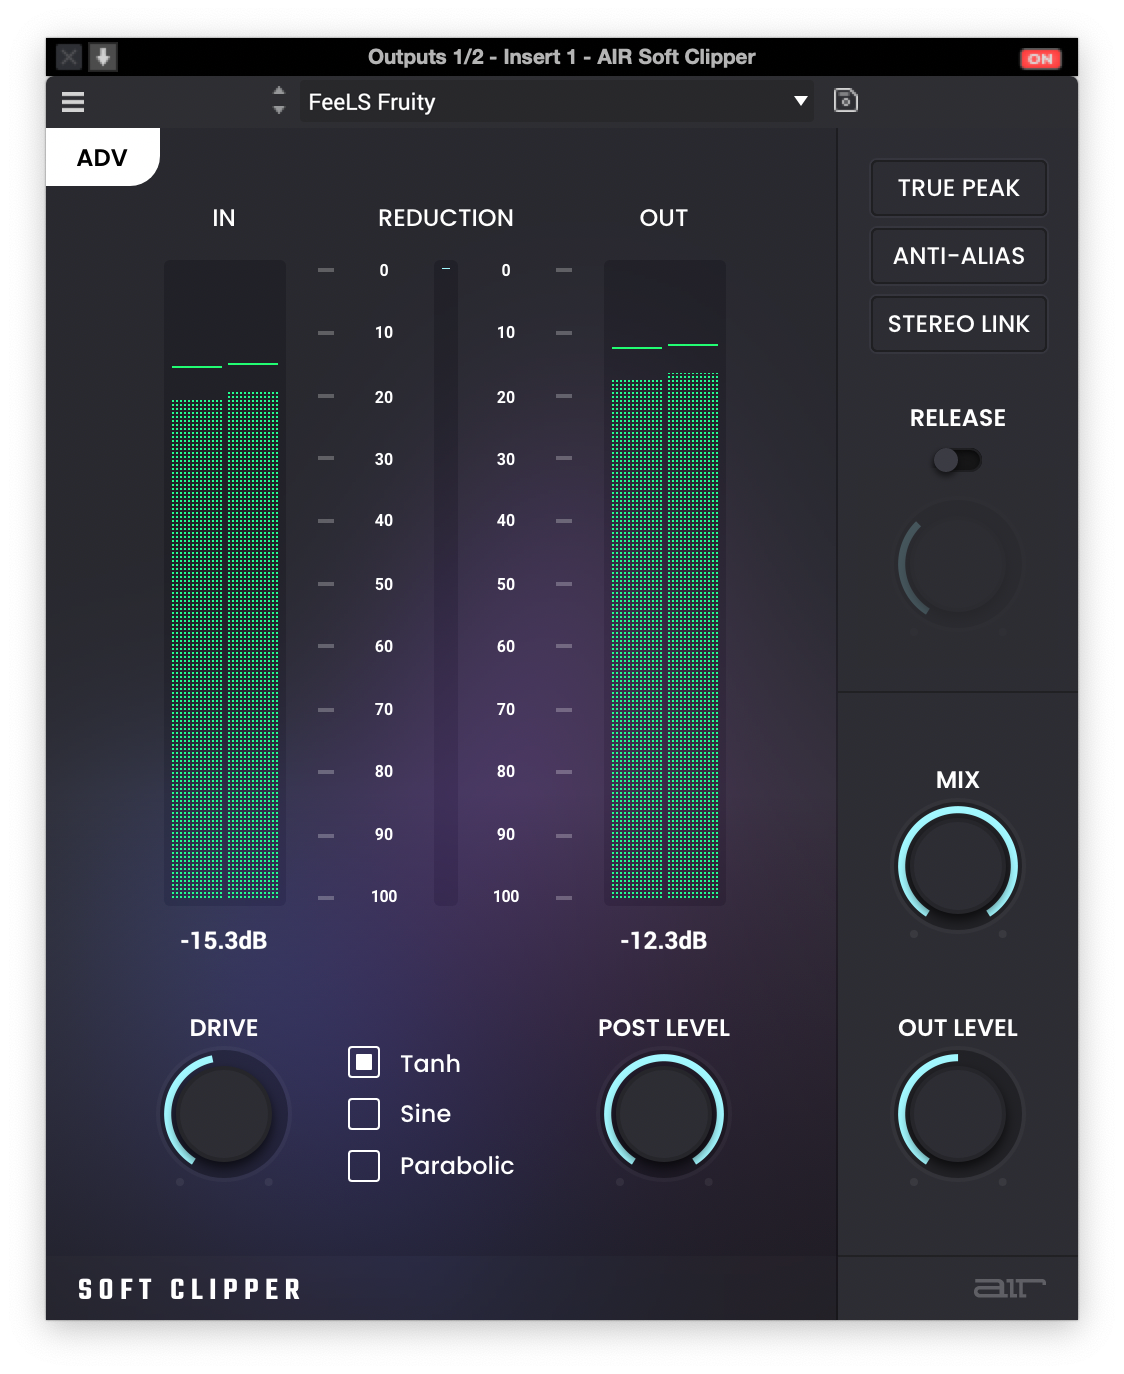
These two live in my “dynamic safety net” lane:
Soft Clipper keeps things feeling clean and controlled when peaks get wild.
Diode Clipper adds that crunchy, aggressive transient smack that just works on MPC drums and bass.
Best use:
Soft Clipper: On drum bus, mix bus, or loud stems where you want loudness without harsh brickwall limiting.
Diode Clipper: On kicks, snares, synth basses, or aggressive leads that need bite and character.
How to dial it in:
Set a low threshold so it catches the hottest peaks, not the whole signal.
Use your DAW’s parallel blend or mix control if available — clip a bit harder, then blend back for punch without wrecking the transient shape.
Always level-match and listen for feel: louder is not automatically better.
Akai “Grimey Distortion”
That “MPC 2000 in a bad mood” energy.
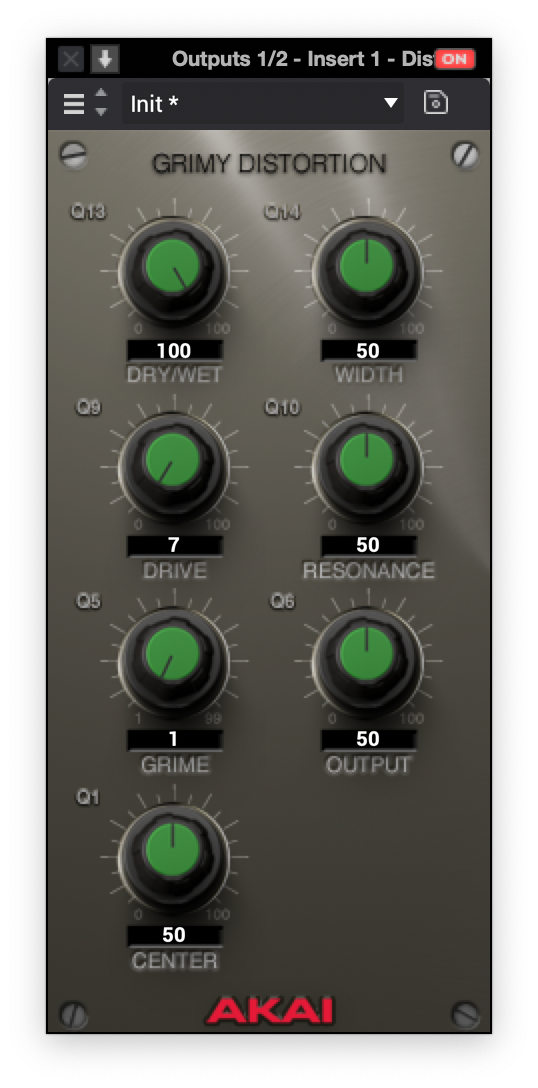
This one isn’t about clean enhancement — it’s about attitude. The Grimey Distortion has that thick, slightly ugly-in-a-good-way character that feels like older MPCs getting pushed too hard. Great when you want drums or samples to feel lived-in and aggressive instead of polite.
Best use:
Parallel distortion for drum breaks, one-shots, and chops
Toughening up 808s or bass so they poke through small speakers
Adding “dirt layer” to samples in boom-bap, grime, or heavy hip-hop
How to dial it in:
Run it on an aux/parallel bus and blend it in under the clean signal.
Turn the grime down to 1-2 and the drive below 10, make sure your input level is lower than -18dB and use drive to lift the signal into the distortion.
Push the distortion more than you think on the aux, then tuck the mix knob down so you’re just hearing the tone and texture, not full-on meltdown.
Use a low-pass or band-pass after it if the high fizz gets in the way.
track in at EXTREMELY low levels and keep the signal fidelity, add small amounts of drive for more subtle distortion and timber adjustment.
MSXII LoFlyTape & LoFlyDirt
Instant “this came off a dusty cassette” vibes.
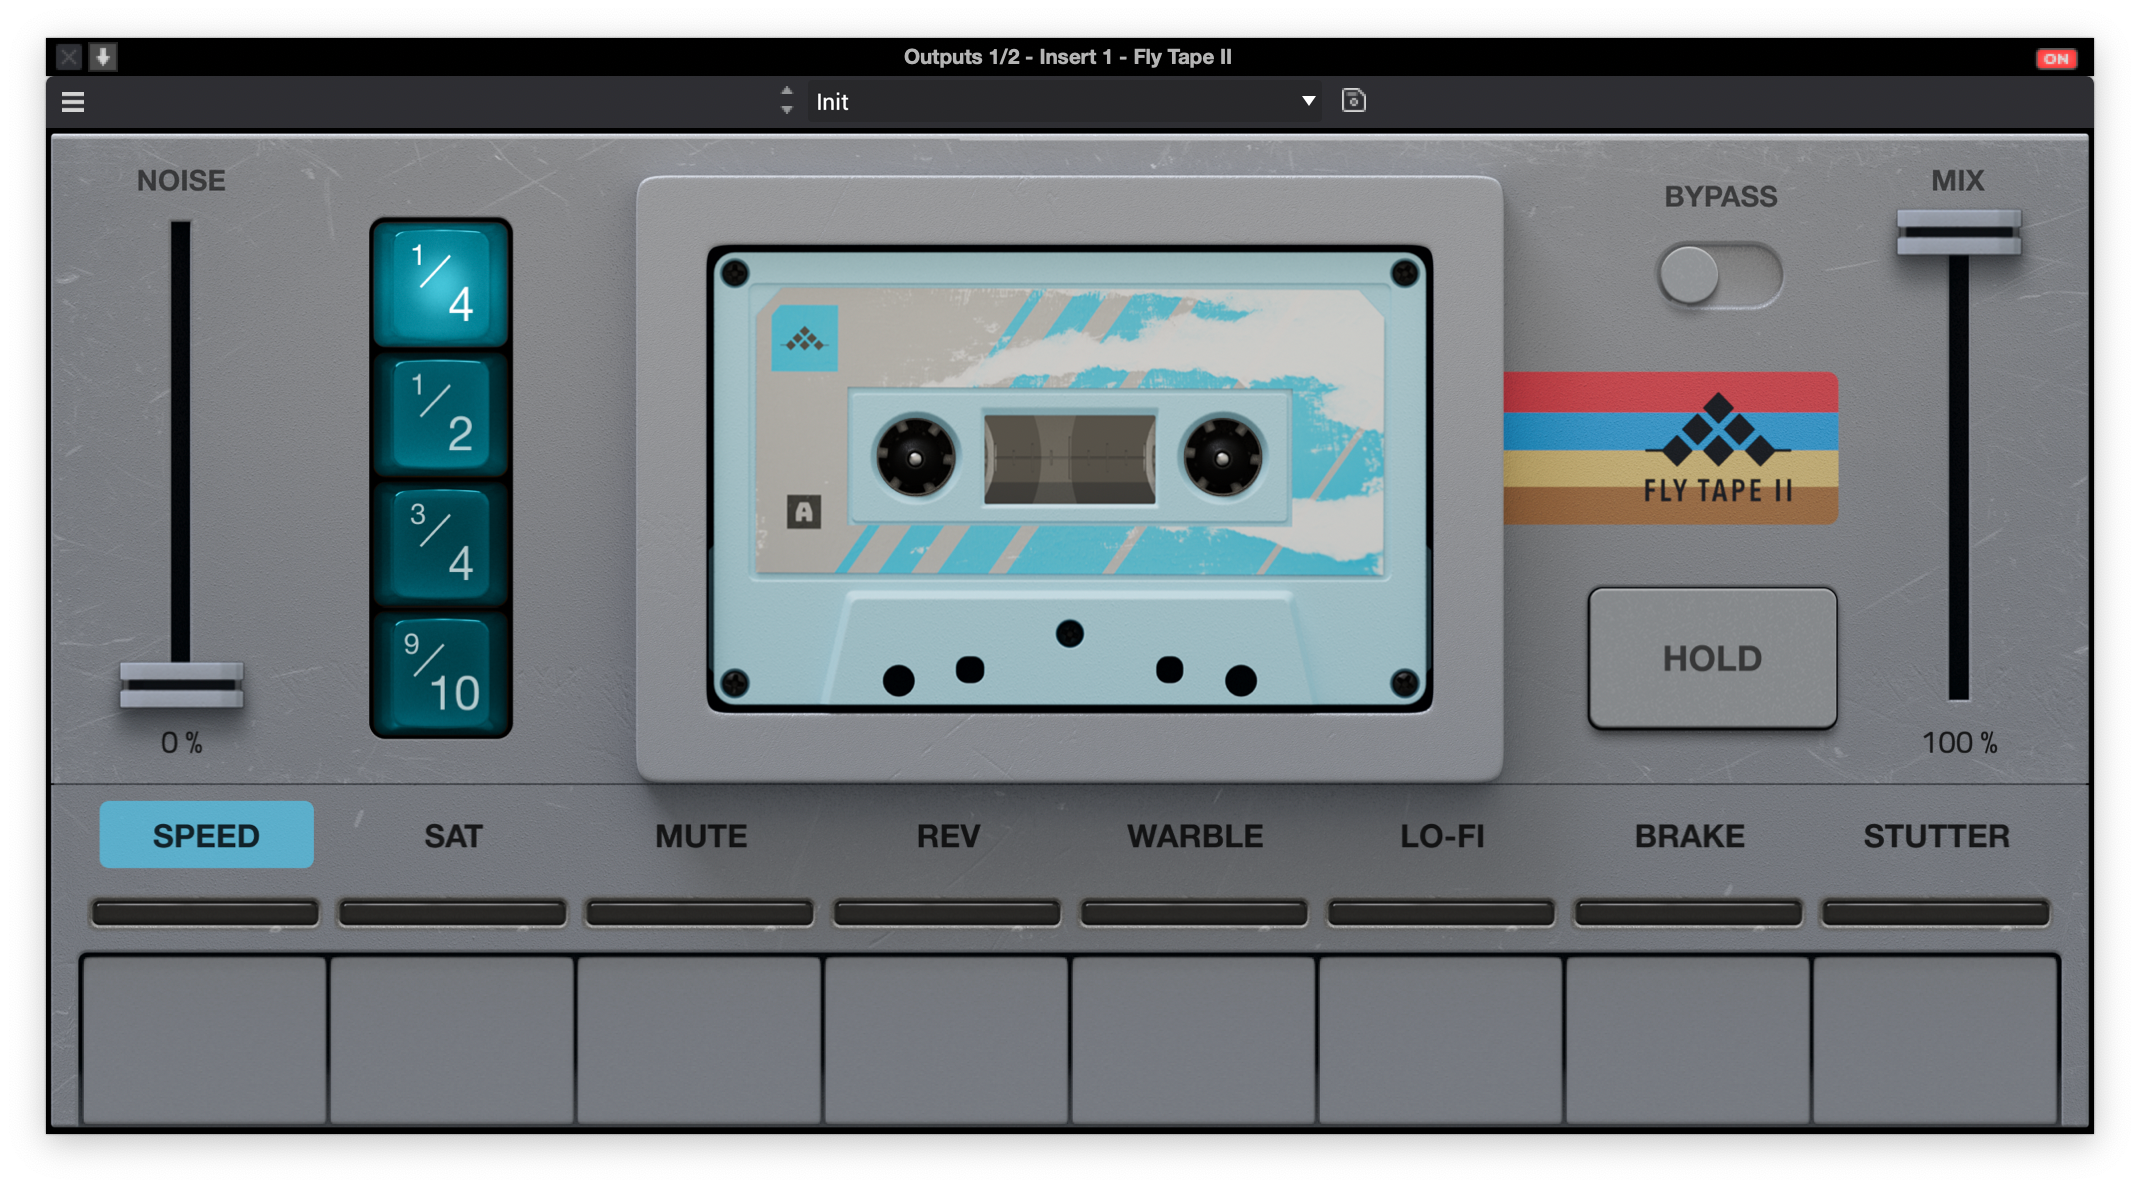
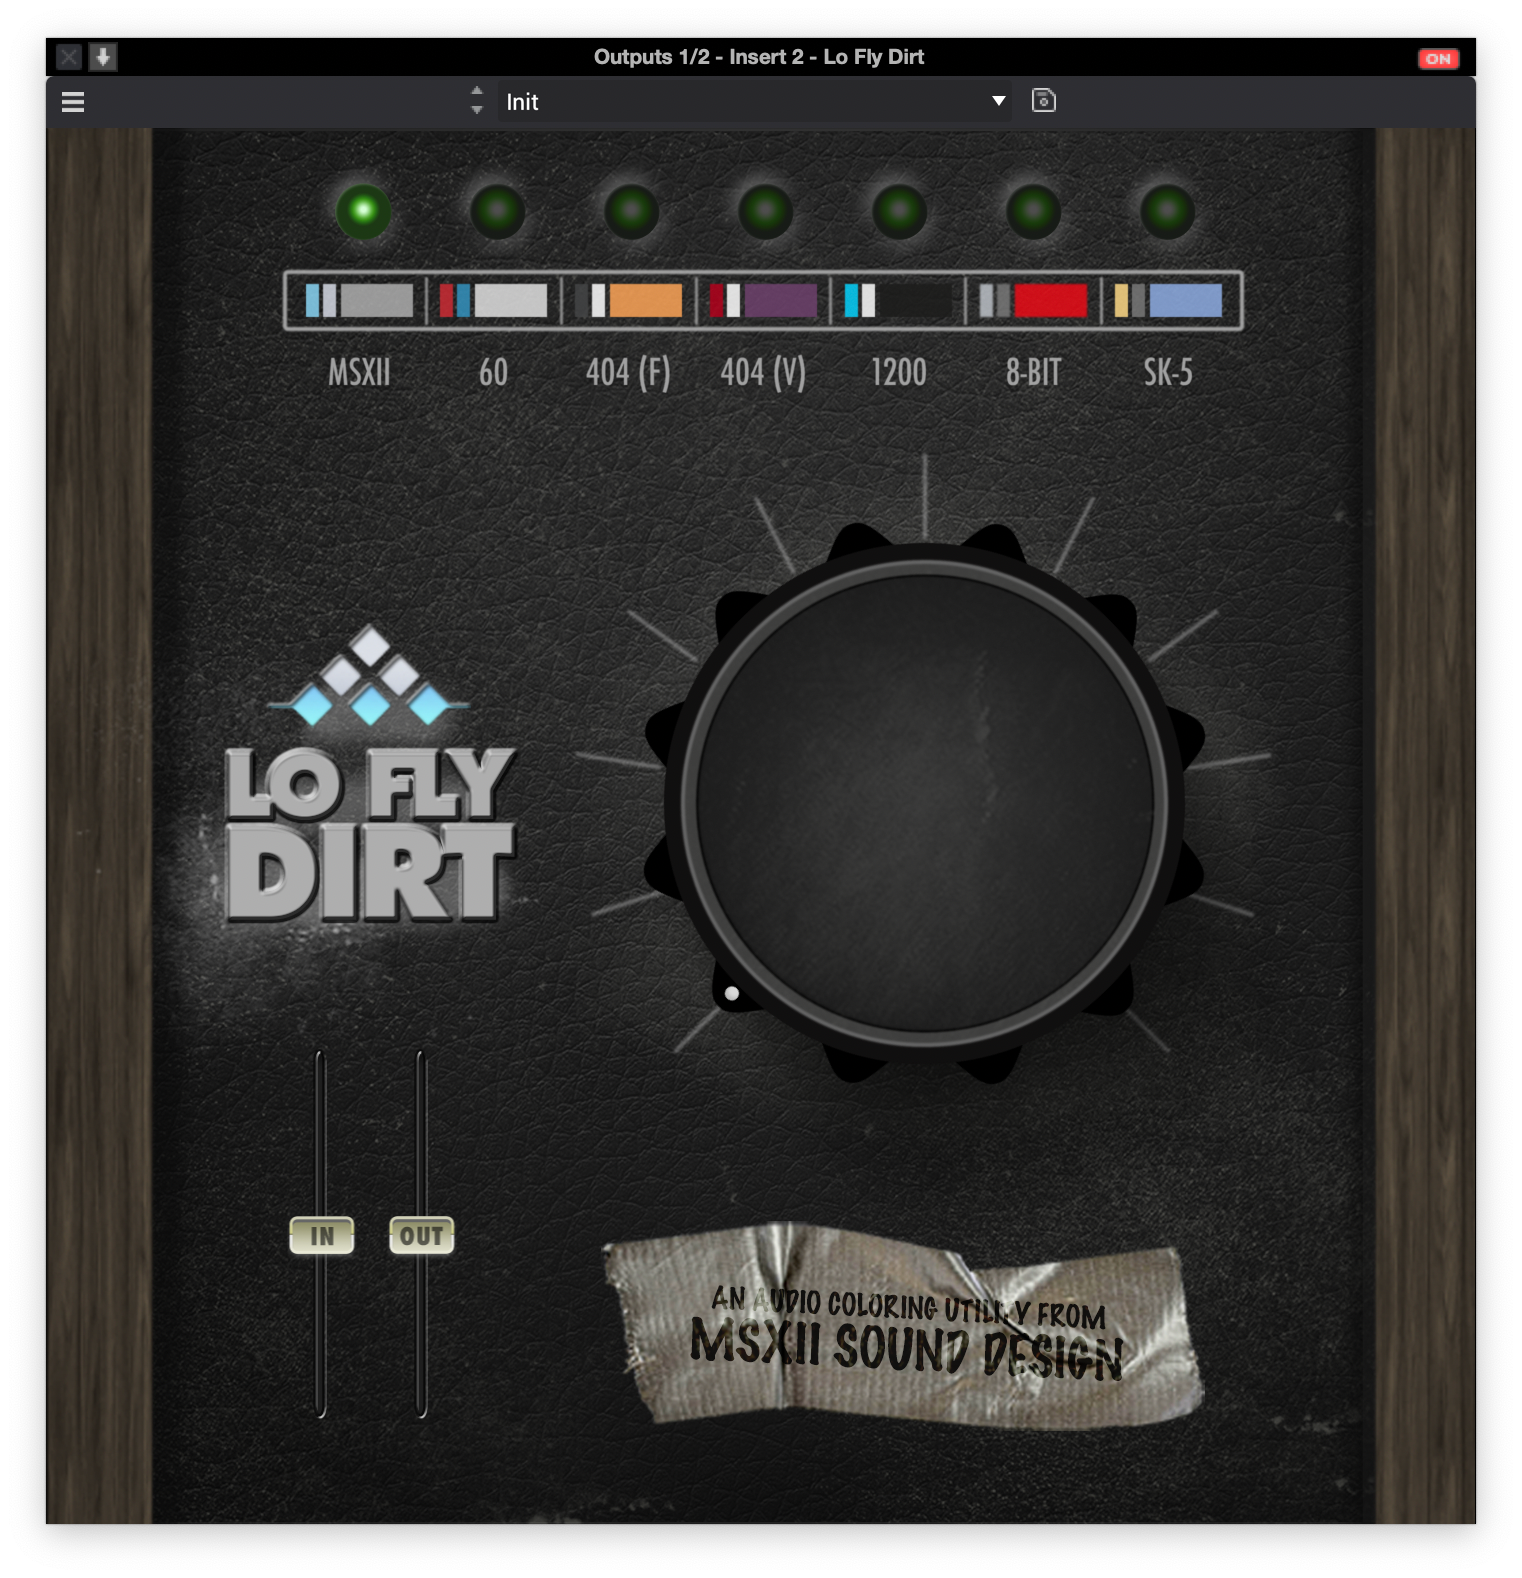
These two are pure vibe tools:
LoFlyTape gives gentle tape-style compression, subtle wobble, and a smooth high roll-off.
LoFlyDirt piles on the grain, dust, and harmonic grit that just screams boom-bap and soul.
Best use:
LoFlyTape: On the mix bus, melodic buses, or keys to round off the top and pull things together. Add saturation and a bit of noise for some authentic “printed to tape” feeling.
LoFlyDirt: On drum buses, sample chops, or chorus sections where you want extra grime and movement or over an entire mix.
How to dial it in:
Keep LoFlyTape light on the mix bus — think “glue and soften,” not “destroy” . Be mindful some of the tape emulations get a little wobbly
Use LoFlyDirt more aggressively on drums or featured sections, then automate it so the track gets dirtier on hooks/choruses. SP404 (v) is meant to emulate the vinyl effect on the SP404. Very useful for drums and samples.
Don’t be afraid to filter before or after these plugins so the dirt sits in the mids and doesn’t turn into fizzy noise.
AIR Filter (VCA Distortion / Overdrive)
Sleeper hit: ignore the filter, abuse the distortion.
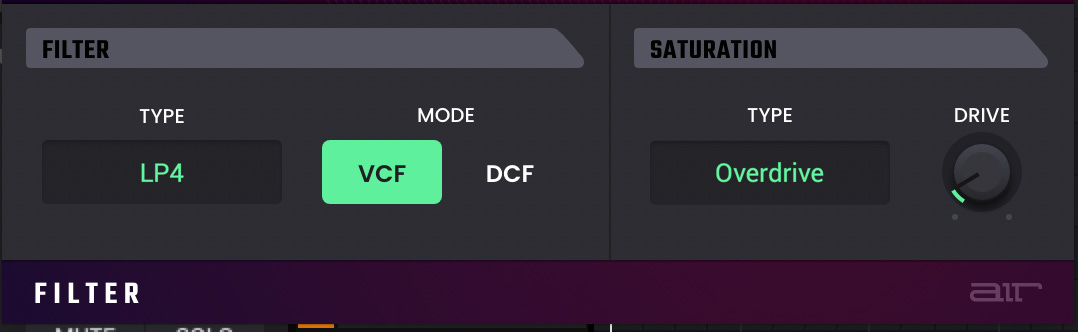
Even if you’re not reaching for it as a traditional filter, the VCA distortion and overdrive inside AIR Filter have a really nice tone — more musical than a lot of generic DAW overdrives, with a satisfying push that doesn’t instantly turn things to sandpaper.
Best use:
On drums and percussion when you want more knock and hair.
On basses and synths that need to cut without just boosting highs.
As a character stage before compression on a subgroup.
How to dial it in:
Set the filter to a neutral or wide-open state so it’s not really shaping the tone — you’re here for the distortion circuit, not the filter.
Start with VCA Distortion for punch and density; switch to Overdrive when you want more obvious breakup and midrange growl.
Push the input until you feel the tone “lean forward,” then back off a touch. Use output level to match volume and A/B until you’re getting vibe, not mud.
Daw Plugins of Choice
*below are plugins I absolutely LOVE, theyre not popular, theyre not common but I love the concept behind them and what they consistently output at different sample rates
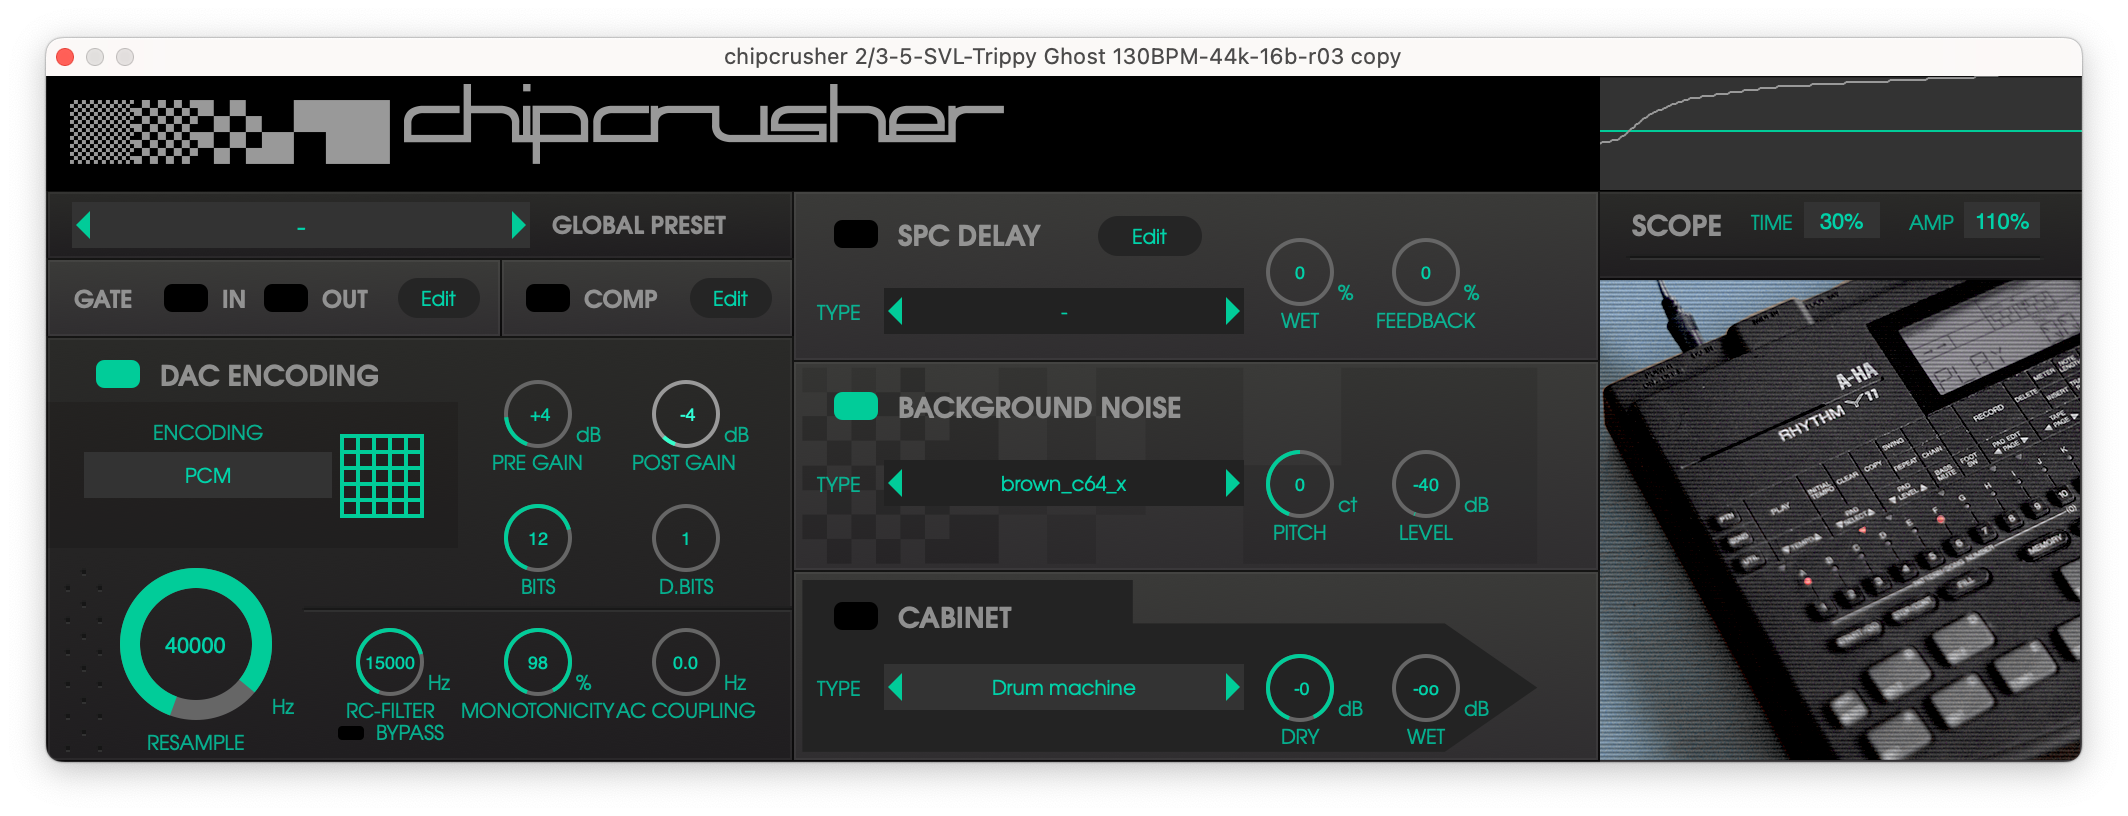
Plogue ChipCrusher
Retro coloration done right. Bit depth, sample rate, and speaker emulation combine to recreate old-school tone.
Best Use: Great for sound design and emulating older technology like computers or keyboards.
How to dial it in:
Choose a DAC or conversion method. I personally use mulaw or PCM and emulate older samplers like the SP12, SP1200 or MPC60/
Choose background noise: Most older gear had imperfections in the signal path or slight noise coming from electrical components. Not only does this add to the harmonic content of the signal, but adds a level of realism or believability to whatever you pass through.
Some of my favorites include :brown_c64_x,
brown_c64_av_basic_screen1 / screen2or
c64_rf-2/c64_rf-3mac_plus_headphones_vol3genesis1_rca_back-2genesis1_phones_80pnes_rca-1
nes_rca-2
nes_rca-3
Pick a Cabinet: When looking to emulate actual gear in a realistic space rather than the signal coming out of the gear, this is your friend. Combining this with spacializing plugins like Panorama 7 or Soundly’s Place It, you can achieve some pretty convincing emulations of actual gear being recorded with micropones which adds a level of sonic realism to your tracks.
Bonus Tip: Use Airwindows uLawEncode before and after the plugin to emulate broadcast companding which was very similar to the method used to reduce signal-to-noise ratio in the MPC60.
Be sure to emulate ‘pre-emphasis’ by either increasing the high frequencies before chipcrusher and decreasing afterwards or a simpler method of using pre and post gain inside of the plugin. Tweak this to your liking
Optimal input levels for uLaw Encode are going to be around -18dB otherwise it just distorts.. dont let that input level fool you though.. it packs a punch when done right.
Airwindows BusColors4
Your “instant console” plugin.

Instead of just adding generic saturation, BusColors4 models how specific consoles actually sum and output audio — including the vibe of the output transformer. You get different characters like Rock (API-ish punch), Lush (Neve-ish thickness), Tube, and more. The big idea: choose one flavor and let it leave a consistent sonic fingerprint across your entire mix.
Best use: Place as the last plugin on your mix bus or on key subgroups (such as drums, music bus, vocals) so everything sounds like it’s passing through the same analog desk.
How to dial it in:
Pick a model:
Lush if you want width and that soft, expensive thickness.
Rock if you want a more forward, aggressive mix tone.
There’s no “drive” knob, so the sound comes from how hard you hit it, similar to an actual console. Push the level going into the plugin for more color, pull it back for something cleaner. Use the output trim to match level so you’re not being fooled by loudness.
Airwindows Desk/Tube Desk
“Make this channel stop sounding like a cold DAW track.”
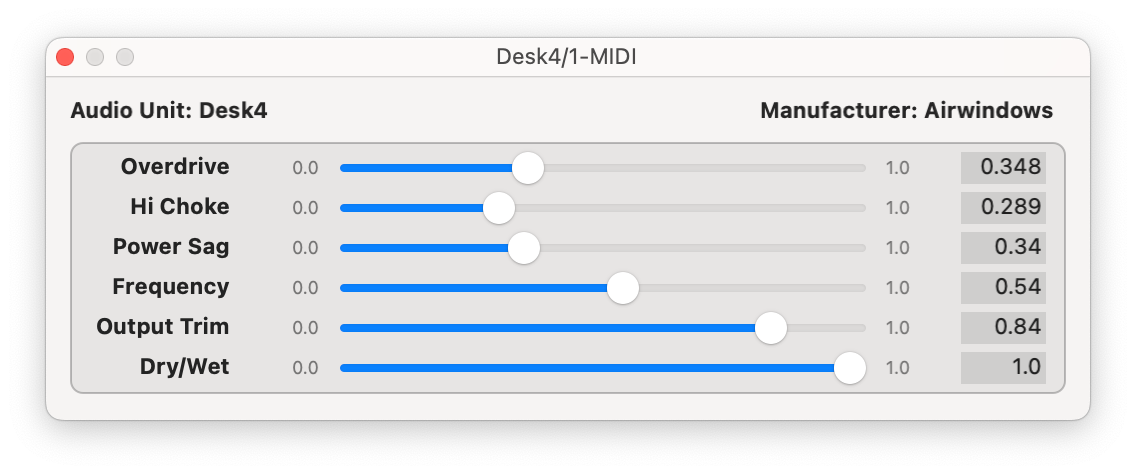

Desk is basically an analog gain-stage emulator. Think of it like giving each channel its own little piece of console behavior. It smooths out those pokey digital peaks and adds a bit of analog-style movement so things don’t feel plasticky or brittle when you start stacking tracks.
Best use: First insert on important channels or busses.
Great on drums and percussion to tame spiky transients.
Nice on digital synths and samples that feel a little too sharp or “fake.”
How to dial it in:
It’s a true set-and-forget plugin:
Want more attitude? Push the signal into Desk harder.
Want it cleaner? Back off the input level.
Know that ‘squishy’ feeling amplifiers have when driven, increase the Power Sag to emulate the slight drop in voltage that lightly compresses or puffs up what you’re driving into it.
Tube desk just reacts to volume. No menu-diving, no overthinking — get your gain staging right and let it do its thing.
Airwindows Interstage
The “this suddenly feels 3D and expensive” button.

Interstage isn’t a distortion plugin. It’s modeling what happens between analog stages — transformers, capacitors, all the non-linear weirdness that makes hardware feel solid and “real.” The result is a slight low-mid weight, a bit of top-end smoothing, and less of that icy “in the box” sheen.
Best use: Right before a super-clean digital EQ or compressor. Or essentially anywhere in the signal chain.You’re basically feeding your clinical tools a more “analog-shaped” signal so they respond and sound less sterile. (and you can use multiple instances of them)
How to dial it in:
Just like with most of the good stuff from Airwindows, there are no knobs. It’s meant to live at 100% wet:
Drop it in the chain.
Add before/ after most effects.
Bypass/enable and listen for the added “heft” and slight de-edging in the highs.
If your mix feels a little flat and too “DAW-y,” Interstage is one of those tiny moves that just adds a tiny bit of something
Airwindows MOJO
That “finished record” fairy dust.
Mojo is one of those plugins that doesn’t scream “effect” but makes things feel more expensive and glued. It’s doing a mix of saturation, low-end thickening, and high-end smoothing that mimics what happens when audio passes through a bunch of analog stages repeatedly.
Think: less brittle top, more weight in the mids, and a subtle sense of push that helps sounds sit in a mix without you knowing why.
Its not stated anywhere in the specs, but Mojo adds a bit of 2nd order harmonics similar to the SSL 9000 which is incredible for a free plugin
Best use: On individual tracks or subgroups that feel a little flat or weak.
Great on vocals that need to feel “in front” without harshness.
Killer on bass, keys, guitars, or samples that sound too clean or “demo-ish.”
You can also sneak it on your mix bus at very low intensity for a global polish.
How to dial it in:
Start with the signal into Mojo at a low levels until you start to ‘feel’ the sound getting fuller..
LIke with all Airwindows plugins, you’ll drive the signal into this until you’re getting the sound that you want..however stay conservative with this one, the best results come from a bit of moderation.
As always, level-match: toggle it on and off and make sure louder isn’t tricking you. You’re listening for density, warmth, and cohesion — not obvious distortion.
Airwindows uLawEncode / uLawDecode
“Companding like a busted digital box — in a good way.”

uLaw is Airwindows’ take on classic µ-law companding — the same kind of nonlinear encode/decode curve used in old telephony and some early digital systems. In practice, that means it pushes quiet details up and squashes peaks in a very specific, non-musical-on-paper but musical-in-practice way. Used right, it gives drums, samples, and vocals this compressed-but-not-a-compressor density that feels very “early digital hardware.”
Paired with bitcrushers like pockey, chipcrusher, or derez3, you can either:
Use them together as a companding stage (encode → hit other processing → decode), or
Use uLaw by itself as a character effect to add forward, gritty density without bitrate reduction.
Best use:
On drum buses or individual hits when you want front-loaded punch and a weirdly satisfying digital clamp.
On sample chops to make them feel like they came off some old converter, not a pristine 32-bit float session.
As a companding sandwich: encode, then distort, boost clip/EQ, then decode so the overall shape feels more controlled and “hardware processed” instead of obviously mangled.
How to dial it in:
Encode for character :
Drop uLawEncode on a drum bus, sample bus, or vocal.
Drive the input until you hear transients get tighter and denser, not just smaller.
Level-match and A/B — you’re listening for “forward and glued” rather than flat and smashed.
If it’s too obvious, move it to a parallel bus:
Smash the parallel with uLaw.
Blend underneath the clean signal for a subtle “digital front” layer.
Companding chain (uLaw → FX → uLawDecode):
Put uLaw first in the chain.
Follow it with something that reacts nicely to the denser signal:
Bitcrushing like Chipcrusher, MbitFun, Derez3,
Slight EQ boost in the highs (before bitcrushing for extra broadcast companding emulation)
Then put uLawDecode after those.
This “re-expands” the signal somewhat, but with your processing baked into the companded shape.
Fine-tune by adjusting how hard you hit uLaw on the way in. Small changes at the encode stage can completely change how everything downstream feels.
Like explained previously, this plugin takes an optimal input signal around -18dB, but whatever you do in between stages will help boost the signal quite musically.
Used subtly, uLaw/uLawDecode is one of those “why does this feel more finished?” stages. Push it and it turns into a very specific crunchy, front-loaded digital weight that can be perfect for aggressive drums and chopped samples.
There is a plugin called Pockey that does something similar, however I prefer teh ability to control the type of emulation inside of the companding.
⚙️ How I Combine These in a Real Mix (Workflow)
Track-Level/Instrument-Level:
AIR Soft Clipper or Diode for drums and bass transient control.
AIR Tube/Filter VCA Distortion on vocals or guitars for color and presence.\
uLawEncode/Decode combination with Chipcrusher on samples recorded into the MPC
Grimey distortion on synths
Tube desk + Interstage on synths or instruments recorded into MPC
Bus-Level:
AIR Soft Clipper on drums
LoFlyTape for glue and harmonic lift on submixes
Black Box HG-2, busscolors or MOJO on the 2-Buss
Master Bus:
BussColors 4,
Mojo,
Interstage for emulation.
Black Box HG-2
🎚️ Quick Recipes (Try These Two Presets)
Drum Bus — Punch + Grit:
Soft Clipper (clip peaks only) → Grimey Distortion, Ulaw + Chipcrusher.
Vocal Chain — Warm Presence:
AIR Tube (low drive) → Tube Desk (Tone A, light drive) → Bus HG-2 (low drive, wet mix 10%).
🧩 Troubleshooting Saturation Problems
If it’s muddy:
Roll off low-mids before saturating (HP filter at 60–100Hz).
If it’s harsh:
Use multiband saturation and limit high-frequency drive.
If it’s too loud:
Always level-match before and after saturation — your ears perceive louder as “better.”
🎛️ How to Choose the Right Saturator for the Job
For Glue:
Use tape or tube-style saturation (Mojo, HG-2, Busscolors,LowFlyTape).
For Bite:
Go for diode or transistor types (AIR Diode, Grimey Distortion, Air VCA filter Distortion ).
For Warmth:
Try subtle harmonic saturation (Saturn 2, Tube, LoFlyDirt, Mojo, Busscolors).
🔗 Other Useful Posts


🎯 Get Free Mix Feedback
Want help balancing your saturation levels or finding the right tone for your mix?
Submit your session through the Mix Feedback Hub and get detailed notes on where saturation helps (or hurts) your mix.
Free Mix Feedback: Honest Critiques to Level Up Your Tracks

Free Mix Feedback: Honest Critiques to Level Up Your Tracks
Submit for Mix Feedback
💌 Join the Lab
Final Note:
Master a few saturators instead of collecting dozens. When you understand how each reacts to transients, harmonics, and tone, your mixes will sound more intentional — and more analog — than ever.